The Merge Video tool allows you to create a single video from several video and image files. You can also set the aspect ratio, change the file format, and add audio.
Add video files and images
-
Go to the Merge Video tool.
-
To add your video or image files, do one of the following:
- Click Choose files to select files from your device.
- Drag and drop files from a folder on your computer or laptop to the webpage.
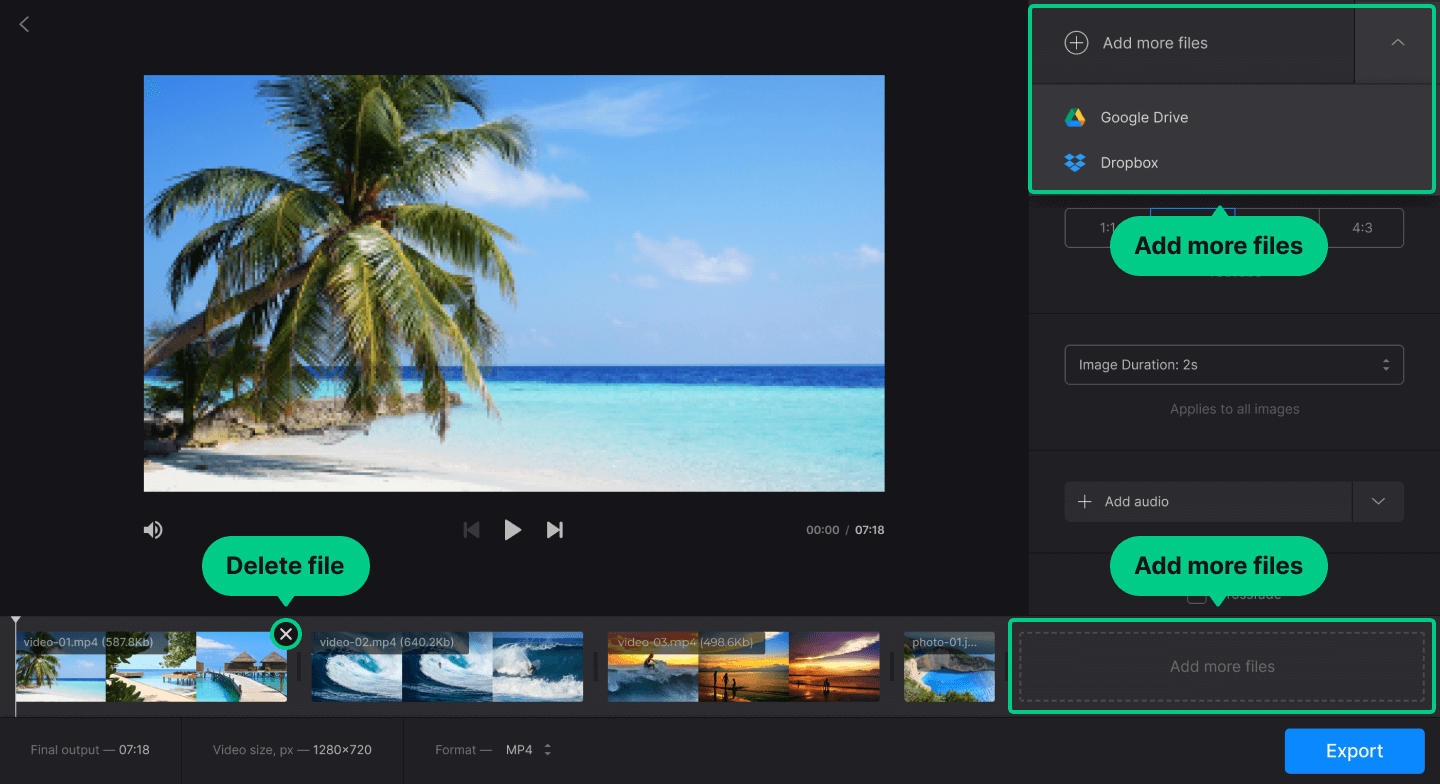
- Hover over the arrow to the right of the button to select files from your Google Drive, Google Photos, or Dropbox.
You can add one or several video and image files or add just one file and upload the others later.
You cannot add an audio file in this step. First, upload video or image files. Then, in the editor, you will have an option to add your audio file.
-
Once the files are uploaded, you can add or remove them and change their order.
- To add more video or image files, click Add more files in the right pane or Add more video in the timeline. You can repeat this as many times as you need.
- To delete a file, hover over a thumbnail in the timeline, and then click the x icon. You cannot delete the only file in the timeline.
- To change the order of the files, drag and drop them in the timeline.
- To navigate between the files in the Preview pane, use the Play, Previous, and Next icons.
Add audio
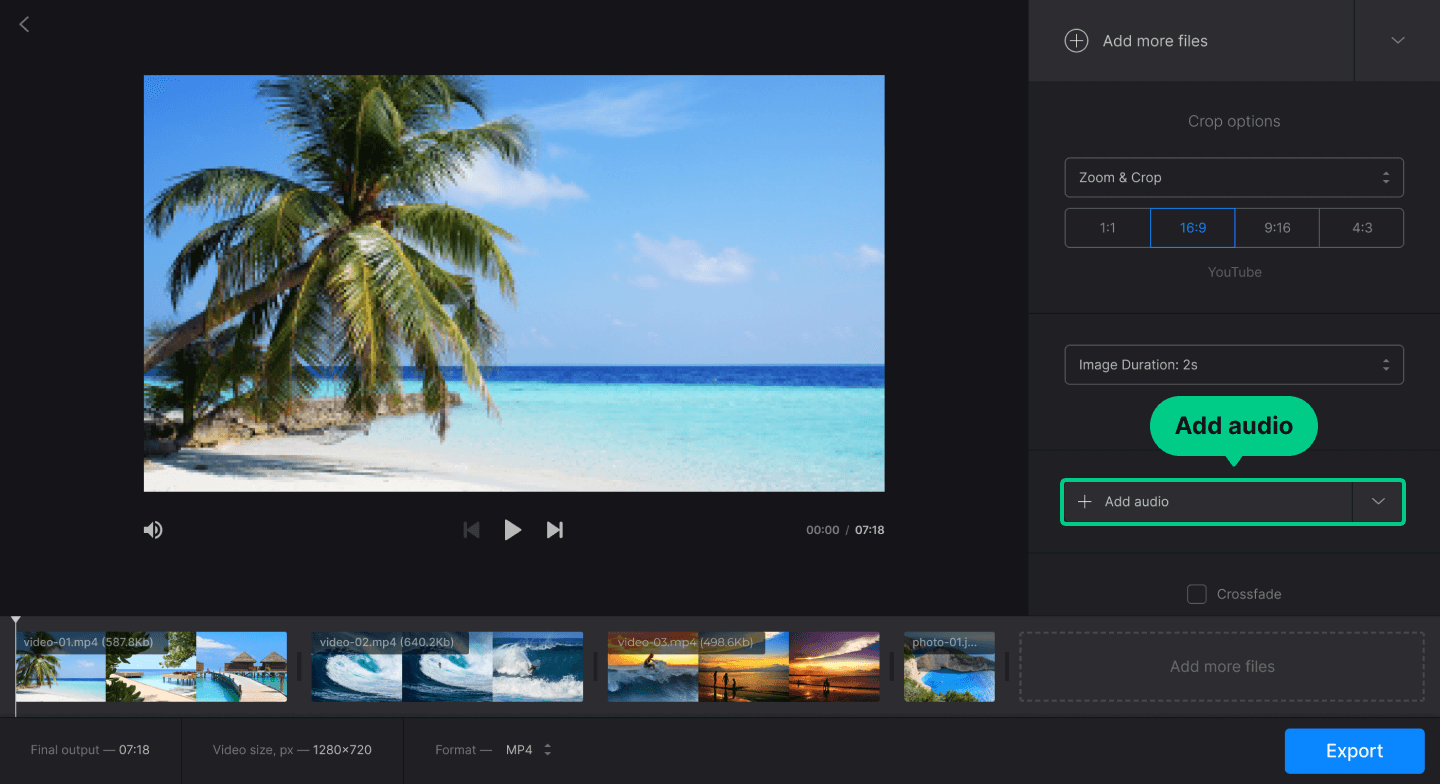
To add an audio file, at the bottom of the right-side pane, do one of the following:
-
Click Add audio to select files from your device.
-
Hover over the arrow to the right of the Add audio button to select files from your Google Drive or Dropbox cloud storage.
Change audio settings
Once you have added the audio file, in the Audio options section, you can edit its settings:
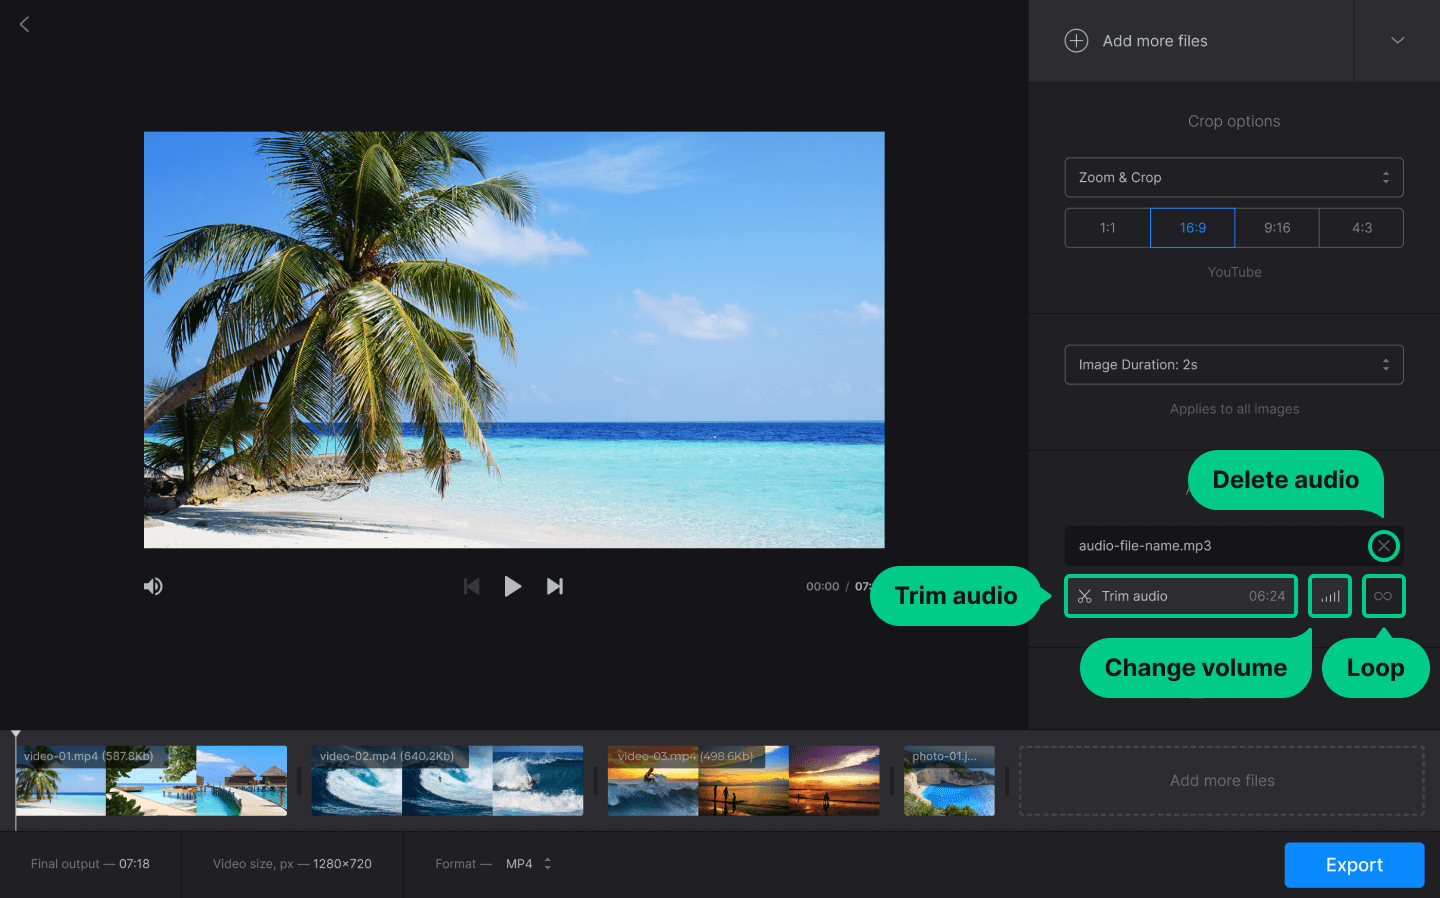
- To select a part of the soundtrack you want to use, click Trim audio, and, in the trimming pop-up screen, specify the start and end points of the track: drag the yellow handles in the track timeline or type the exact timestamps below the timeline.
- Then click Trim to save the changes.
- To change the volume for the sound of your video and audio tracks, click the Volume icon to the right of the Trim audio button, and move the sliders to increase or describe the volume level.
- If the audio duration is shorter than the video file, next to the Volume icon, you will see the Loop icon with the infinity symbol. Click it if you want the audio track to repeat until the end of the video.
- To delete the added audio file, hover over a thumbnail in the timeline, and then click the x icon. You cannot delete the only file left in the timeline.
Change crop settings
-
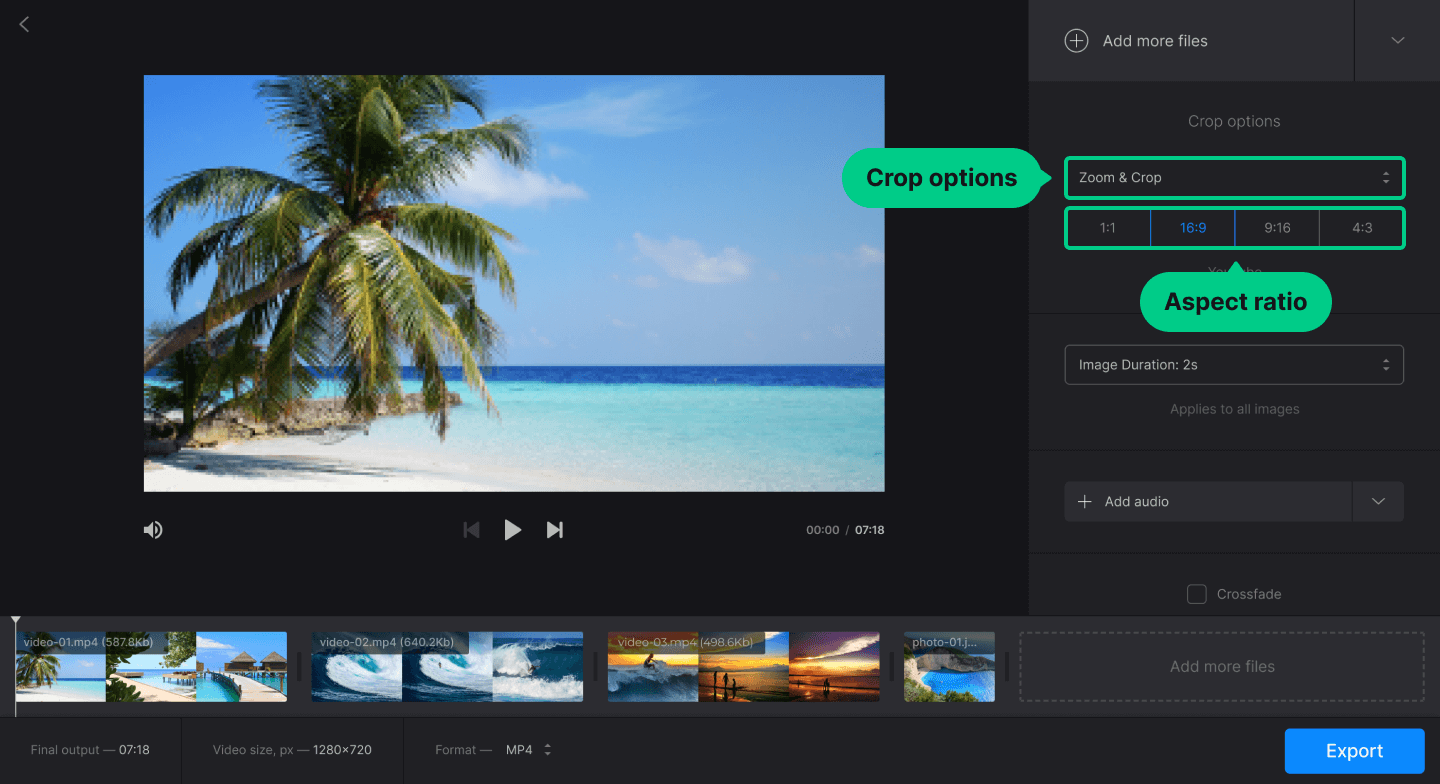
If you have black bars along the top and bottom or left and right of your video, in the Crop options section, do one of the following:
- Keep Fit with border selected to retain the bars.
- Select Zoom & Crop to crop the media and remove the bars.
-
To change the aspect ratio, in the Crop options section, select one of the predefined aspect ratios: 1:1, 16:9, 9:16, or 5:4.
Change duration of images
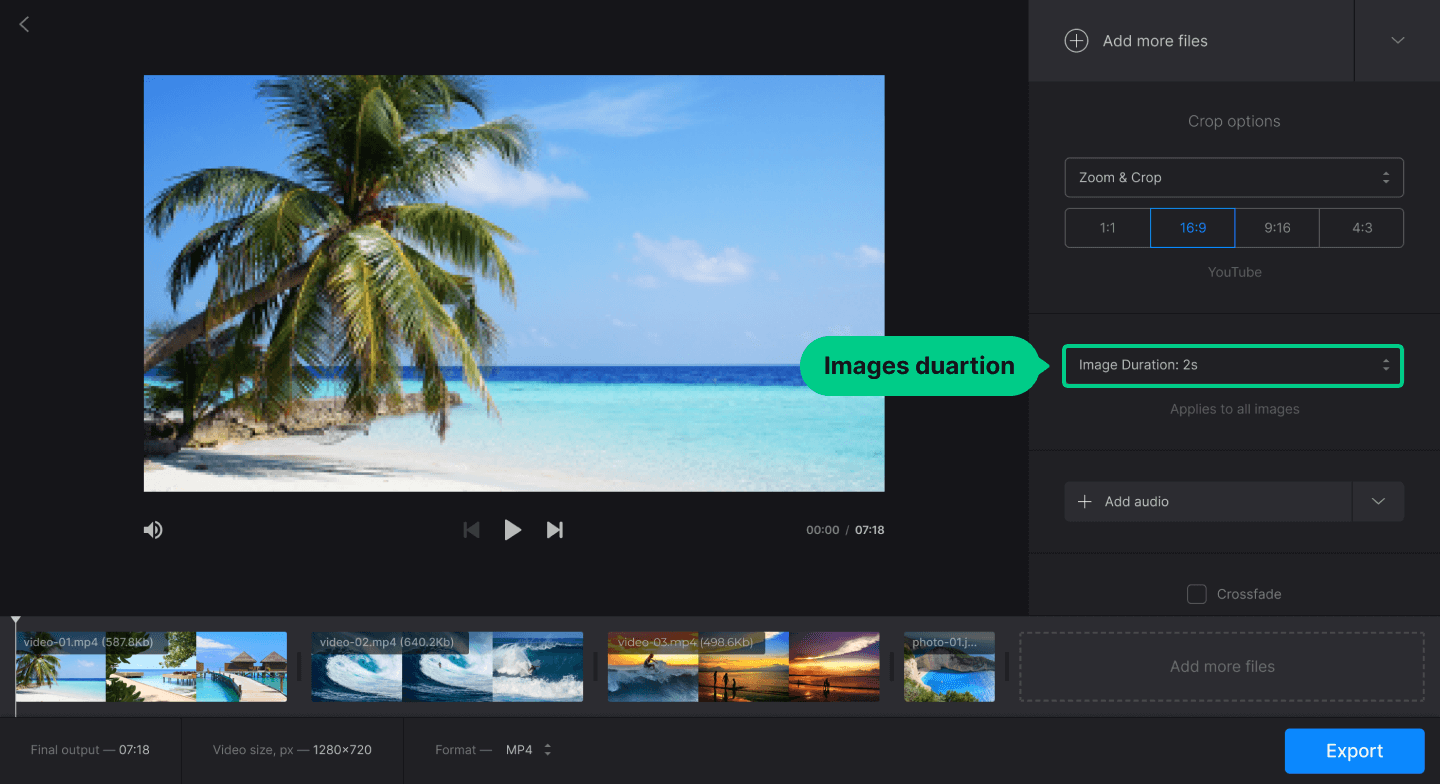
If you have image files in your video, in the Image duration drop-down list, select the required value. This setting will apply to all the images in your video.
Add a crossfade effect
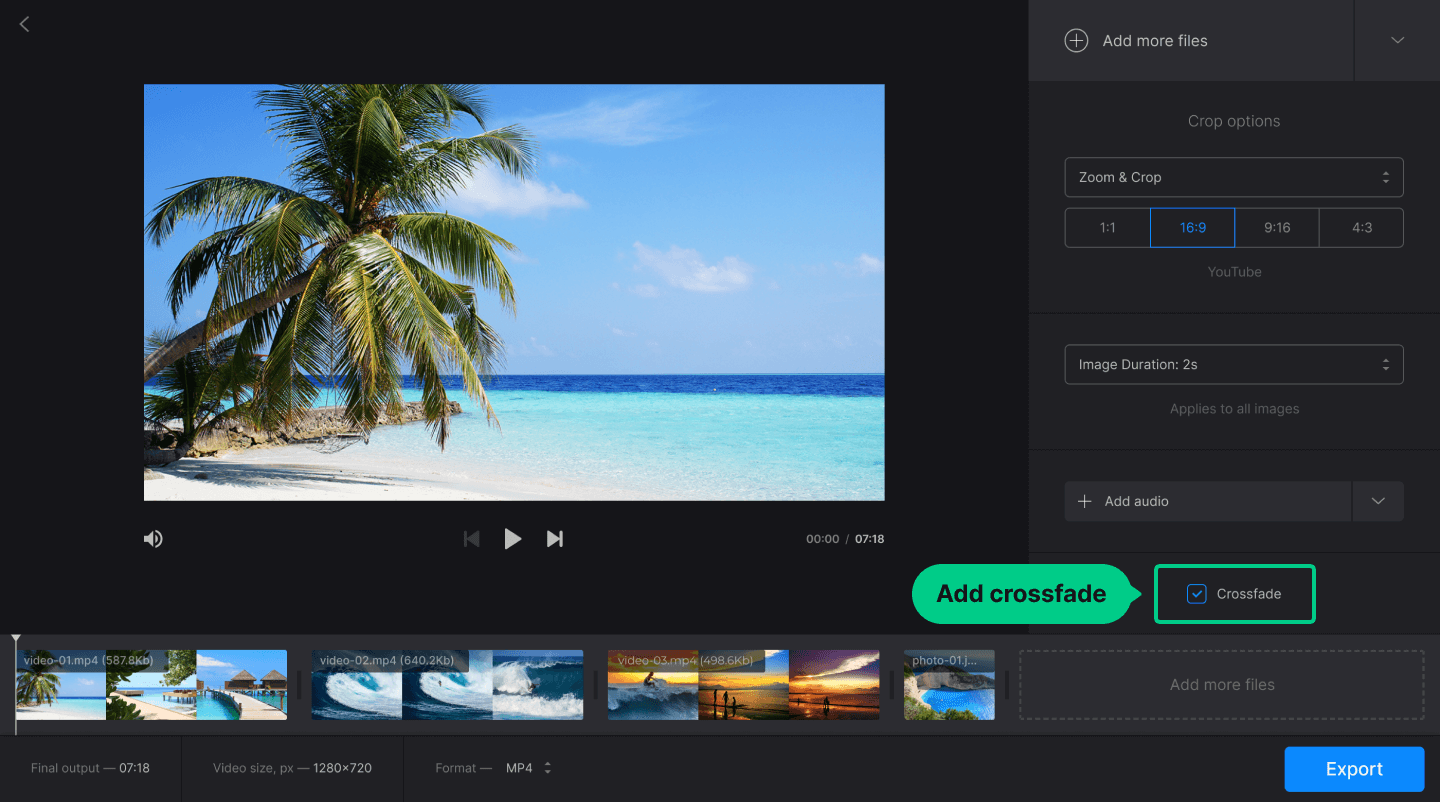
To add a smooth transition effect between the files, select Crossfade.
Change export formats
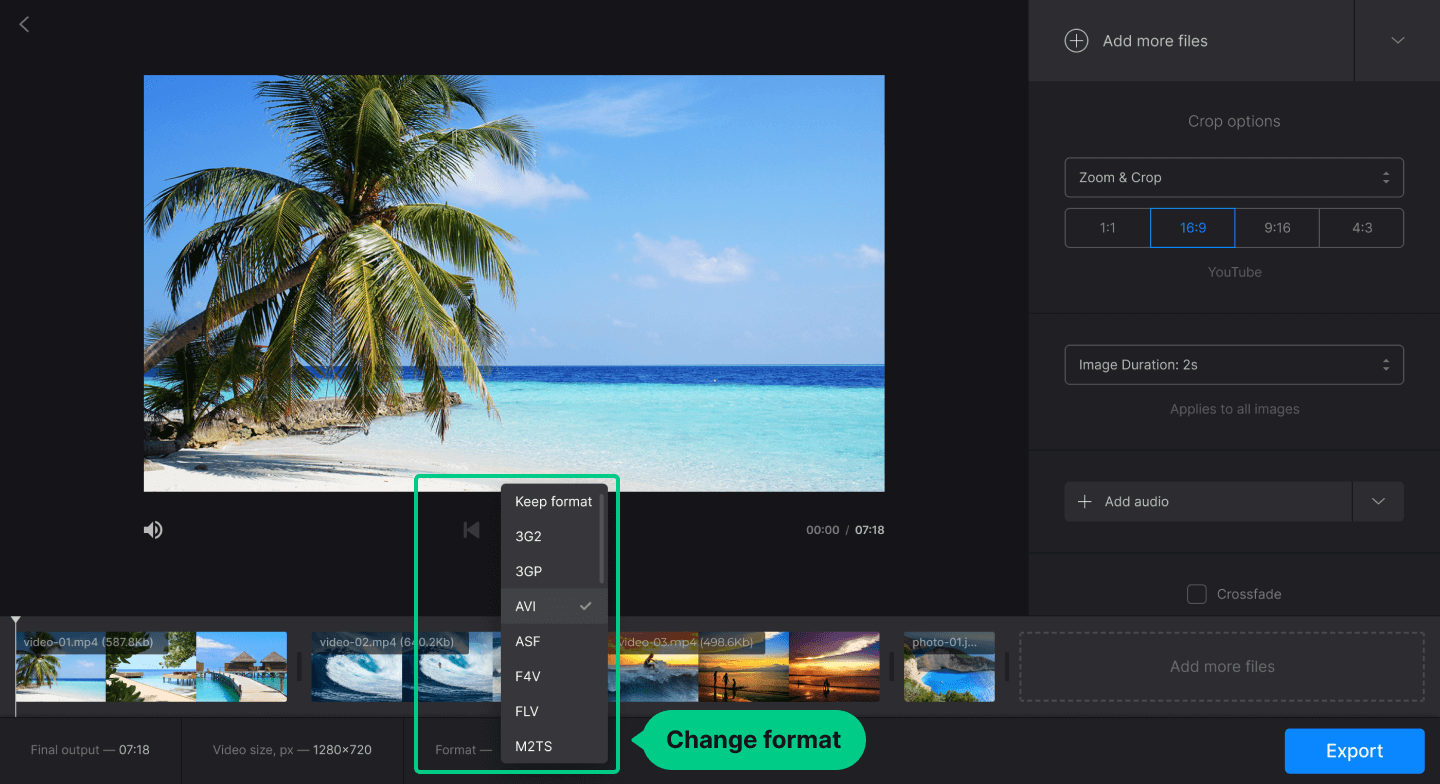
To change the export format, select the required file type in the Format list at the bottom.
Export and save your video
- To combine the files, click the Export button at the bottom right and wait for the process to complete.
-
Once you have exported the project, on the result page, you can do one of the following:
- To review the file, click the Play icon in the Preview pane.
- To remove the watermark, click Remove watermark (you will proceed to the Pricing page to buy a Clideo Pro plan).
- To save the file to your device, click Download.
- To save the file to your Google Drive or Dropbox storage account, hover over the arrow to the right of the Download button.
- To return to editing, click Edit.
- To proceed with editing in another Clideo tool, under Continue in…, select one of the icons (a Clideo Pro plan is required).