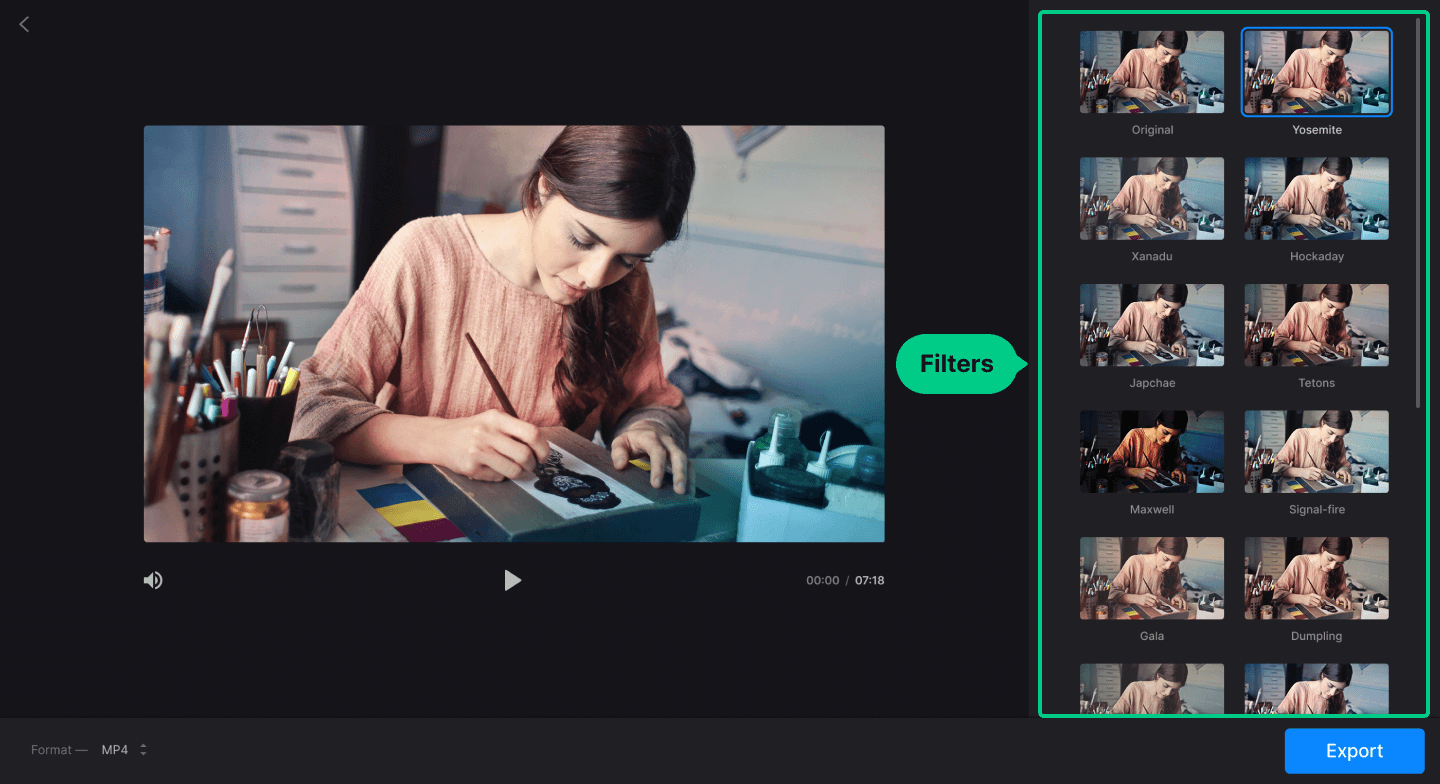
The Filter Video tool allows you to apply one of the filters to your video, make it monochrome, turn it into sepia, and so on. You can also change the file format.
Add video
- Go to the Filter Video tool.
-
To add your video file, do one of the following:
- Click Choose file to select a file from your device.
- Drag and drop a video file from a folder on your computer or laptop to the webpage.
- Hover over the arrow to the right of the button to select a file from your Google Drive, Google Photos, or Dropbox.
Apply a filter
Once you upload the file, select one of the filters in the pane to the right of the player. Note that you can apply only one filter at a time.

Change export formats
To change the export format, select the file type of your choice in the Format list at the bottom.
Export and save your video
- To save the file, click the Export button at the bottom right and wait for the process to complete
-
Once you have exported the project, on the result page, you can do one of the following:
- To review the file, click the Play icon in the Preview pane.
- To remove the watermark, click Remove watermark (you will proceed to the Pricing page to buy a Clideo Pro plan).
- To save the file to your device, click Download.
- To save the file to your Google Drive or Dropbox storage account, hover over or click the arrow to the right of the Download button.
- To return to editing, click Edit.
- To proceed with editing in another Clideo tool, under Continue in…, select one of the icons (a Clideo Pro Plan is required).